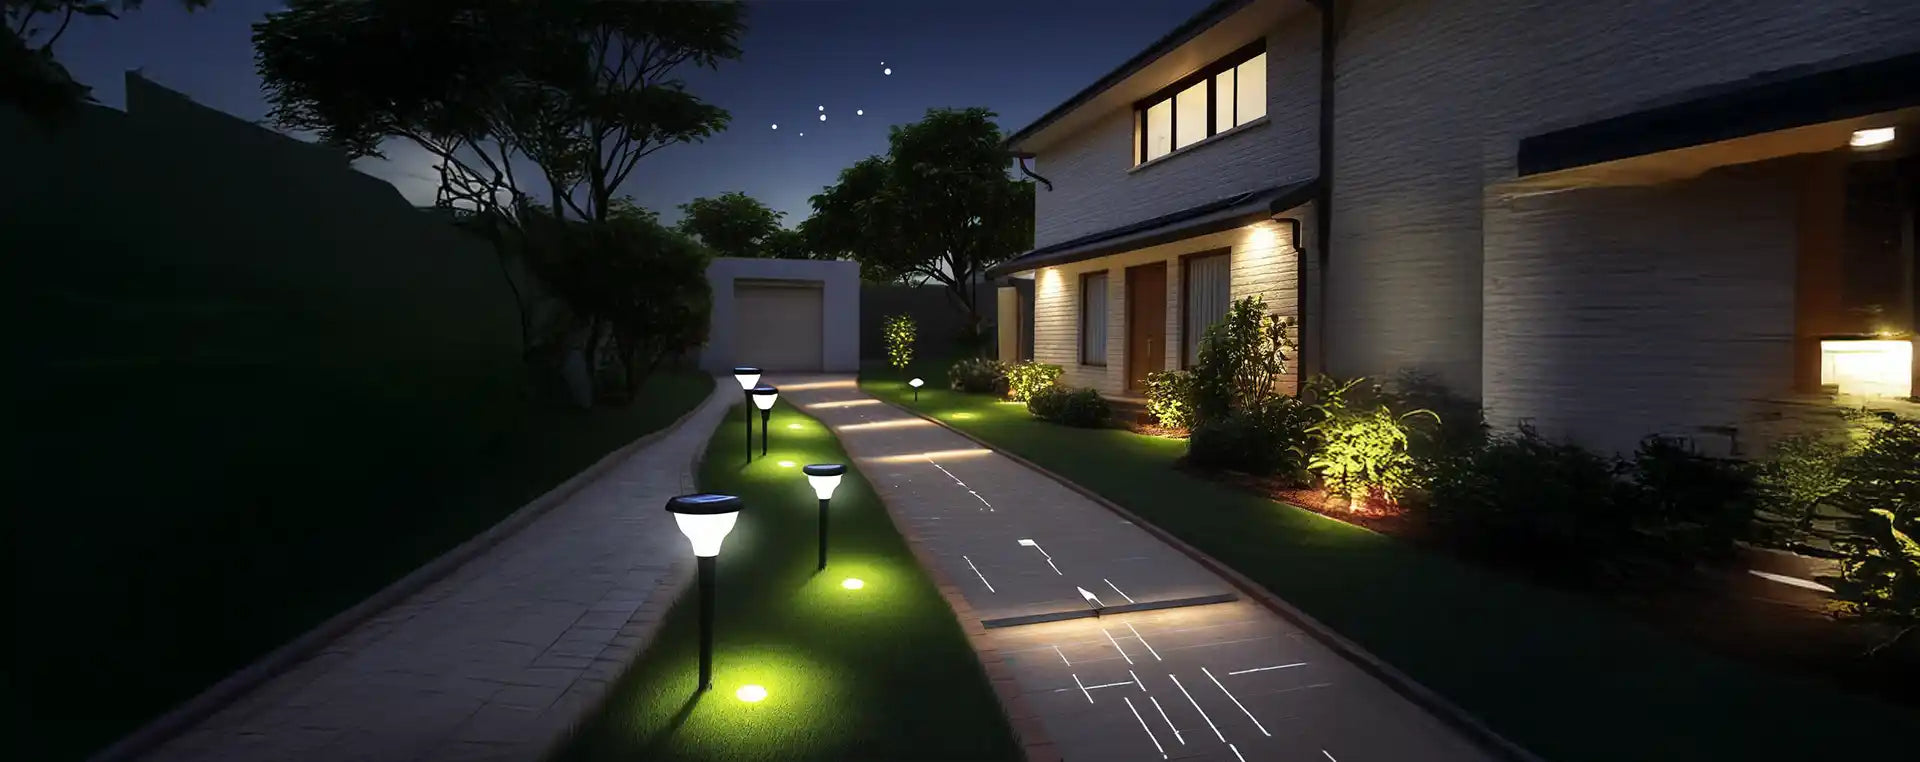
Thus, with an application in the yard, garden, pathway, and driveway lighting, solar lights bring along their many advantages. This also makes them eco-friendly and cost-effective for illuminating your gardens or walkways. But when you are a first-timer using solar lighting, getting started with the installation process might be pretty difficult. It is because of this and many other reasons that in this blog post, we'll provide you with essential tips and a step-by-step guide to help you install solar lights like a pro.
Why Choose Solar Lights?
Before getting into the installation tips, let's briefly get into what makes
solar light one of the best choices for your outdoor lighting:
Energy Efficiency: Lighting from solar lights comes from solar energy, thus saving electricity consumption and the impact on the environment.
Easy Installation: No wiring is required when using solar lights; they can be installed almost everywhere with minimum effort.
Low Maintenance: Maintenance for solar lights is close to nil, and when properly taken care of, they can last for years.
Versatile Designs: They are available in different styles and give an extra point to the beauty of any outdoor space.
Understanding the benefits, let us move on to the installation process.
Step 1: Choose the Right Location
Where you will place your solar light is very critical to their success. A solar light requires as many hours of direct sunlight as possible in order to be effectively charged; therefore, decide on a place that receives a minimum of 6-8 hours of direct sunlight per day. Avoid installing solar lights in shady places or under trees.
Tip: If you are installing solar lights along a pathway, then space the lighting evenly down the path to provide an adequate amount of light and to avoid dark spots.
Step 2: Prepare the Installation Area
Before installing your
solar light, clean up any debris, rocks, obstacles, and the like from the area. With pathway lights, even out the ground so it's level for them to be securely stationed. Clean the surface if mounting solar lights onto a wall or fence, making sure it's dry and dust-free.
Tip: Imagine your outdoor space should look like and what kind of places needs lights. This will ensure some form of balance and beauty in the layout.
Step 3: Fixing Solar Lights
Most solar lights will have easy-to-assemble parts. It simply requires the steps to be followed as guided by the manufacturer to assemble the lights. This mostly involves attaching the light head to the stake or mounting bracket. Make sure that everything is securely locked to avoid wobbling or instability.
Tip: Let your
solar light charge under the sun for a full day before first use, ensuring they have the necessary power to work effectively from the beginning.
Step 4: Installing the Solar Lights
Now that it's assembled, you can start installing your solar lights. For those stake-mounted, just push the stake into the ground at the preferred area of installation. If it had hard ground, then dampen it with water or even use a tool to create a hole. For wall-mounted lights, attach the light securely to the surface with the screws and brackets provided.
Tip: Angle the solar panels to meet the sun for maximal exposure. Most solar lights have their panels adjustable to optimize positioning.
Step 5: Testing the Lights
After installation, let it be dusk and then turn on the lights. They are supposed to switch on at sunset automatically. If there are those that don't turn on their light, then make sure the solar panel is clean and unobstructed. You may also need to check on the connections of the battery if the lights still don't work.
Tip: Clean the solar panel, with a damp cloth, regularly to ensure it gets as much light as possible. This will make sure that your lights work at their most efficient; dirty panels will drop their performance.
Step 6: Maintain Your Solar Lights
Solar lights work better with regular maintenance. Clean the panels every few weeks if you live in a dusty or pollen-heavy area. Brush any snow or ice off the panels during winter. Also, check your batteries every 6-12 months and replace them if necessary.
Tip: Store your solar lights indoors during extreme weather conditions, such as hurricanes or large snowstorms, to protect them from damage.
Conclusion
The installation of solar lights is quite easy and only requires a bit of your time to enhance the outside view. With these beginner-friendly solar light installation tips, you will be able to position, install, and maintain your lights. Properly positioned and taken care of, your solar lights will provide years of reliable illumination that is energy-efficient.
Call to Action: Ready to light up your outdoor space with solar lights? Begin your solar lighting journey today and reap the benefits of a sustainable, cost-efficient solution for illumination. Share your experiences and tips for installing solar lights below in the comments!