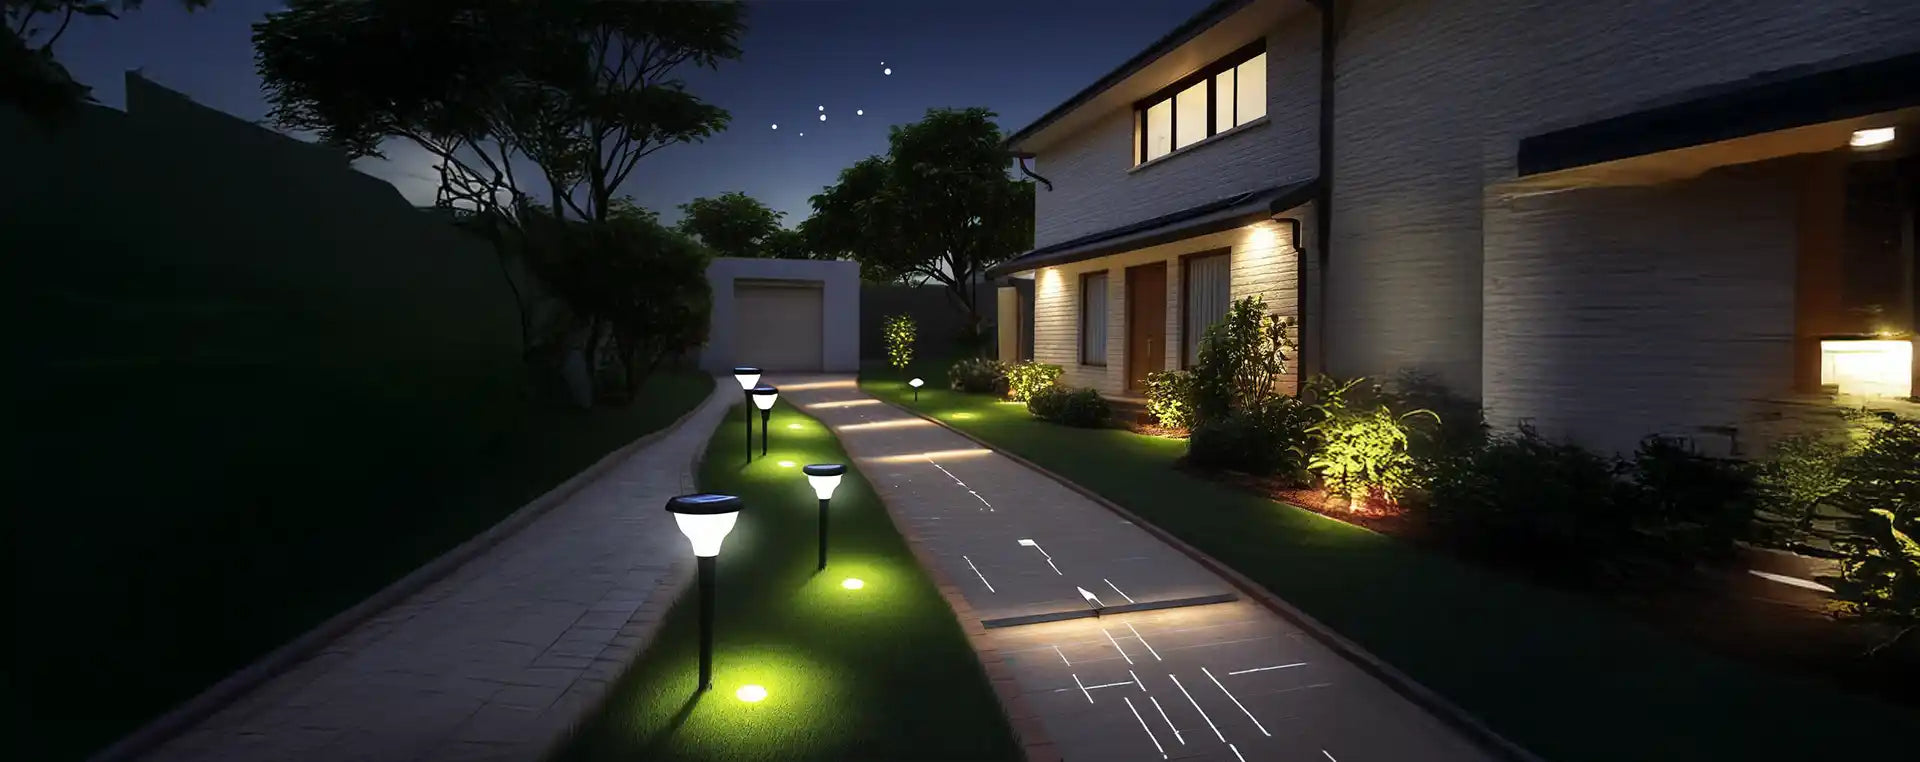
Beginner’s Guide to Installing Solar Lights
Solar lights are an eco-friendly, cost-effective way to illuminate your yard, garden, pathway, or driveway. A solar light runs on sunlight, eliminating the need for wiring and reducing electricity costs. With the right setup, they can last for years while enhancing the beauty of your outdoor space.
Why Choose Solar Lights?
-
Energy Efficient – Powered entirely by solar energy, cutting electricity bills.
-
Easy to Install – No wiring required; place them almost anywhere.
-
Low Maintenance – Occasional cleaning is all they need.
-
Versatile Designs – Available in styles to suit any décor.
Step 1: Choose the Best Location
Pick a spot that gets at least 6–8 hours of direct sunlight daily. Avoid shaded areas or placing under trees. For pathways, space solar lights evenly for balanced illumination.
Step 2: Prepare the Area
Clear debris, level the ground, or clean mounting surfaces to ensure stability.
Step 3: Assemble and Charge
Follow the manufacturer’s guide to put the parts together. Allow each solar light to charge in sunlight for a full day before first use.
Step 4: Install Correctly
Push stakes into soft ground or pre-drill holes for hard surfaces. For wall-mounted models, secure with screws and brackets. Tilt solar panels toward the sun for maximum charging.
Step 5: Test the Lights
At dusk, check if they turn on automatically. If not, clean the panels or check battery connections.
Step 6: Maintain for Longevity
Wipe panels regularly, replace batteries every 6–12 months, and store indoors during extreme weather.
Conclusion
Installing solar lights is simple and rewarding. With proper placement and care, your solar light setup will provide bright, reliable, and sustainable outdoor lighting for years to come.


