Solar garden lights are quite possibly the simplest, most attractive way to light up your outdoor areas. They are environmentally friendly, cost-effective, and wire-free, making them ideal for those homeowners in search of hassle-free outdoor lighting. Whether it be lighting up the pathway, garden, or backyard, this step-by-step guide will help you install solar garden lights with utmost ease and efficiency.
Why Choose Solar Garden Lights?
Before we go into the installation process, here's why solar lights are a great choice:
Zero cost of electricity Safe, wire-free set-up, Automatic ON/OFF with sunlight
Adds beauty and security to your yard, Low maintenance
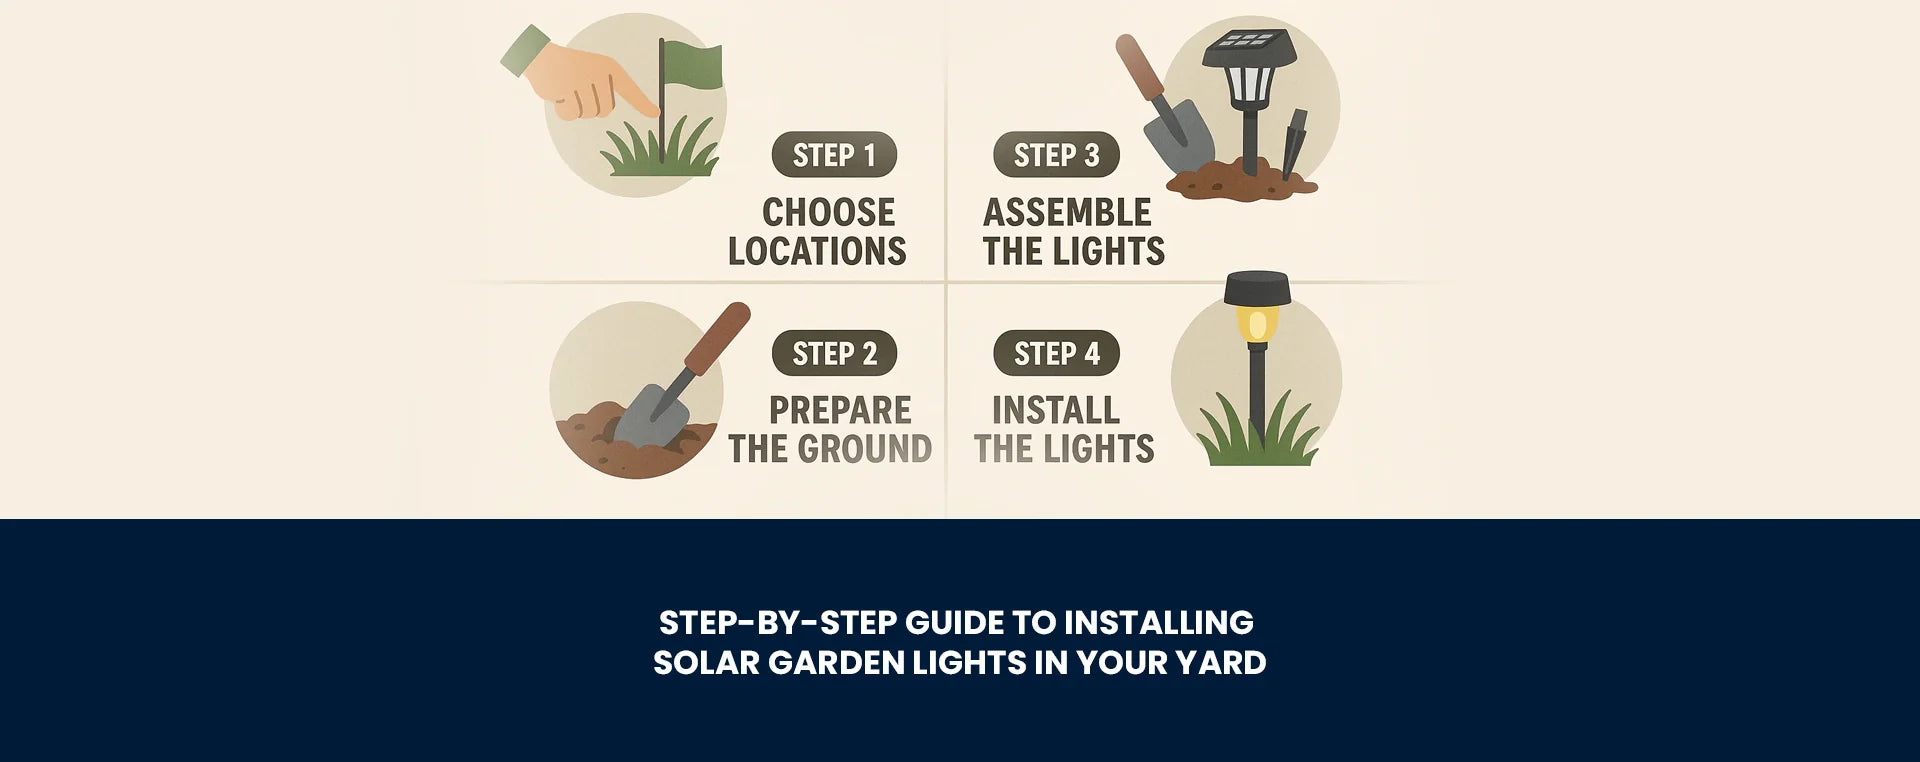
Step-by-Step Installation Guide
Step 1: Plan Your Lighting Layout
First, you identify where you want to put your solar light.
Common options include: Pathways, Garden beds, Driveways, Patio edges
Water features, Ensure the area receives direct sunlight for at least 6–8 hours.
Step 2: Checking the Components
Open your solar light package and check all items:
Solar light head, Ground spike, Poles if included, Screws (for wall-mounted models)
Remove protective film from the solar panel, if any.
Step 3: Test the Lights Before Installation
Turn the light on to see if it works. Cover the solar panel with your hand - if it lights up, it’s working.
This will help avoid reinstallation later.
Step 4: Prepare the Ground
For spike-type garden lights: Loosen the soil with a small shovel if the ground is too hard, and wet it slightly. Never force the spike directly-it can break. If mounting on concrete, select wall-mounted or pillar solar lights.
Step 5: Insert the Ground Spike
Firmly push the spike into the prepared soil. Then, attach the pole and light head in accordance with the design. Make sure the panel is directly exposed to sunlight and not shaded by trees or walls.
Step 6: Angle and Align the Lights
Position your solar garden lights neatly: For pathway lighting, keep equal spacing 2–3 feet apart. To highlight the plants, adjust the angle towards the feature. Make sure no obstruction blocks the panel.
Step 7: Charge Them for a Full Day
Allow the lights to charge for a whole day in the sun before using them.
This ensures: Maximum battery health, Better brightness at night, Longer lifespan
Step 8: Switch to Auto Mode
Most solar lights have an ON/OFF switch, an AUTO mode
Switch ON the AUTO mode for the lights to automatically come on at dusk and turn OFF at dawn.
Solar Light Maintenance Tips to Keep Them Glowing Brightly
To ensure long-lasting performance,
Clean the solar panel with a soft cloth every week.
Dust reduces charging efficiency.
Prune plants that shade
It's the fuel of sunlight!
Replace rechargeable batteries annually
When brightness goes down, the reason may be the battery itself. Ensure waterproofing Check the silicone sealing after heavy rains.
Conclusion (or Final Thoughts): Installing solar garden lights is a simple DIY project that can add instant beauty and energy savings to your yard. Placed correctly and with the right amount of sunlight, they will lighten up your outdoors every evening with ease.